A well-structured 6-week pre-season training program is crucial for soccer players aiming to peak performance during the competitive season. This program focuses on building physical conditioning, technical proficiency, and tactical awareness, ensuring players are prepared for the demands of the game and setting a solid foundation for success.

Structure of the 6-Week Program
The program is divided into three two-week blocks, each focusing on specific aspects of fitness and skill development. Each week includes four running workouts, with two intense and two easy sessions, ensuring progressive overload and adaptation. Tactical and technical sessions are integrated to enhance overall performance.
Overview of the Program
The 6-week pre-season training program is designed to prepare soccer players for the upcoming season by enhancing physical fitness, technical skills, and tactical awareness. It is structured into three two-week blocks, each focusing on specific aspects of development. The program incorporates a mix of aerobic and anaerobic conditioning, strength training, agility drills, and small-sided games to improve overall performance. Each week includes four running workouts, with two intense sessions and two recovery runs, allowing for progressive overload and adaptation. Additionally, tactical and technical sessions are integrated to refine player positioning, ball control, and game strategy. The program is tailored to meet the demands of professional soccer, ensuring players are physically and mentally prepared for competition.
Weekly Breakdown and Progression
The 6-week program is divided into three two-week blocks, each with a focus on progressive overload and adaptation. Weeks 1-2 emphasize building a foundational fitness base with lower intensity and volume. Weeks 3-4 increase the intensity, introducing strength training and agility drills. Weeks 5-6 focus on maximizing speed, power, and game-specific conditioning. Each week includes four running workouts: two high-intensity sessions and two recovery runs. Sprint repetitions increase weekly, starting with three reps in Week 1 and progressing to six by Week 6. This structured approach ensures players gradually build fitness and reduce injury risk. Technical and tactical drills are integrated weekly to enhance ball control and positional awareness, preparing players for the demands of competitive play.
Physical Conditioning
Physical conditioning is the cornerstone of a successful pre-season program, focusing on building endurance, strength, agility, and speed. It prepares players for the physical demands of soccer.
Building Endurance and Aerobic Capacity
Building endurance and aerobic capacity is essential for soccer players to maintain performance over 90 minutes. This phase focuses on improving cardiovascular fitness through aerobic exercises like interval training, steady-state runs, and high-intensity drills. Players engage in progressive overload, increasing intensity and duration weekly to enhance stamina. Aerobic capacity is developed through structured sessions, ensuring players can sustain efforts during matches. Proper recovery and nutrition are emphasized to optimize adaptation. This foundation supports speed, agility, and overall performance, making it a critical component of the pre-season program.
Strength Training for Soccer-Specific Movements
Strength training is tailored to enhance power, stability, and resilience for soccer-specific movements; Exercises like squats, lunges, and deadlifts target key muscle groups such as the legs, core, and glutes. Each week introduces progressive overload, increasing intensity to build functional strength. Dynamic movements mimic game scenarios, improving explosiveness and agility. Focus is placed on injury prevention, ensuring proper form and recovery. This phase ensures players can withstand physical demands, maintain balance, and execute explosive actions on the field. The program is designed to maximize performance while minimizing injury risks, creating a strong foundation for the season ahead.
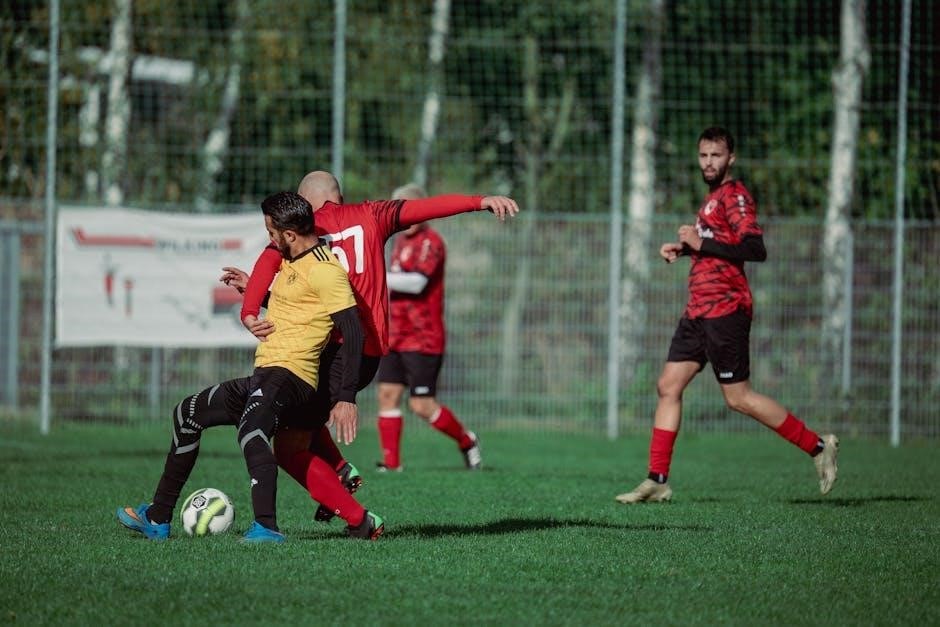
Agility and Speed Development
Agility and speed development are critical components of a 6-week pre-season soccer program. Drills focus on improving acceleration, deceleration, and rapid changes of direction. Shuttle runs, cone exercises, and ladder drills enhance foot speed and coordination. Sprint intervals and hill sprints build explosive power, while plyometric exercises increase vertical jump and agility. Each session is progressive, increasing intensity and complexity to simulate match conditions. These exercises not only improve physical performance but also enhance decision-making and reaction times, giving players a competitive edge on the field. The goal is to develop quick, sharp movements, enabling players to dominate in one-on-one situations and transition effectively between offense and defense. This phase ensures players are agile, fast, and game-ready.
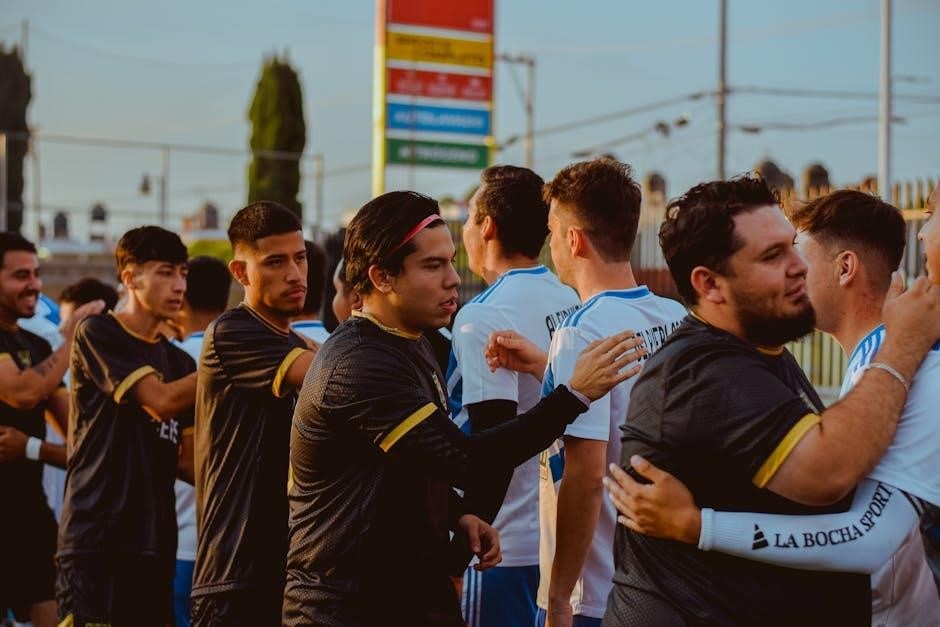
Tactical Awareness and Positional Training
This phase enhances game understanding, spatial awareness, and decision-making through small-sided games and position-specific drills. Players learn to adapt to various scenarios, improving their ability to read the game and execute strategies effectively.
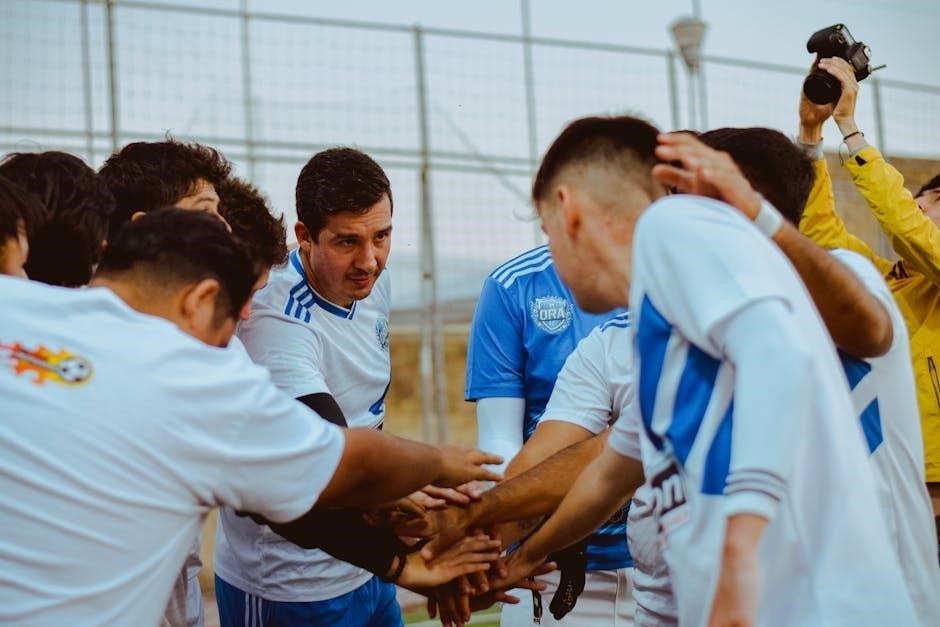
Small-Sided Games for Tactical Development
Small-sided games are a cornerstone of tactical development, offering players increased touches and decision-making opportunities in condensed spaces. These games, such as 3v3 or 4v4, simulate real match scenarios, fostering spatial awareness and positional understanding. By reducing the number of players, the focus shifts to movement, communication, and problem-solving, allowing players to develop game sense and adaptability. Progressive overload is introduced by adding defenders, changing field dimensions, or modifying rules to increase intensity. This approach enhances creativity, passing accuracy, and ball control under pressure. Over six weeks, these games evolve to mirror competitive situations, preparing players for the demands of full-sided matches while reinforcing teamwork and tactical execution. Small-sided games are both engaging and effective, making them a key tool in pre-season training.
Position-Specific Drills and Scenarios
Position-specific drills are tailored to enhance the unique demands of each role on the field, ensuring players master the skills required for their position. Defenders practice defensive headers, tackling, and zonal marking through exercises like 1v1 and 2v2 scenarios. Midfielders focus on ball retention, pressing, and transitioning, using drills that emphasize quick decision-making and accurate passing. Forwards work on finishing techniques, movement off the ball, and beating defenders in 1v1 situations. Goalkeepers participate in specialized sessions, focusing on reflex saves, distribution, and communication. These drills are complemented by game-like scenarios, such as breakaways or corner kick simulations, to apply skills in realistic contexts. Over six weeks, players develop position-specific expertise, improving their ability to execute their role effectively within the team framework. This targeted approach ensures each player is prepared to contribute optimally to the team’s success.

Technical Proficiency
Technical proficiency focuses on mastering essential soccer skills, including ball control, dribbling, shooting, and passing. Players engage in drills to improve precision, composure, and execution under pressure.
Ball Control and Dribbling Exercises
Ball control and dribbling exercises are essential for enhancing a player’s ability to maintain possession and create scoring opportunities. These exercises involve repetitive drills such as figure-eight runs, cone mazes, and box drills, which improve coordination and agility. Players practice controlling the ball with both feet, inside, and outside cuts, and perfecting their ability to change direction quickly. Advanced techniques like step-overs and feints are introduced to deceive defenders. Small-sided games are incorporated to apply these skills in game-like situations, ensuring players can maintain control under pressure. By mastering these exercises, players develop the confidence and precision needed to excel in competitive matches. This foundation is critical for overall technical proficiency and team success.
Shooting and Finishing Techniques
Shooting and finishing are critical components of a soccer player’s skill set, requiring precision, power, and composure. This section focuses on exercises designed to improve accuracy and effectiveness in front of goal. Players practice various shooting techniques, including instep drives, side-foot passes, and volleys, from both short and long ranges. Drills involve stationary shooting, dynamic movement into the box, and one-on-one scenarios against goalkeepers. Emphasis is placed on proper ball striking, body positioning, and follow-through to ensure consistency. Small-sided games and breakaway drills simulate match situations, helping players develop the confidence to finish under pressure. These exercises aim to refine technique, increase scoring ability, and prepare players for the intensity of competitive play.
Passing and Receiving Drills
Passing and receiving are fundamental skills that require precision, timing, and spatial awareness. This section focuses on drills designed to enhance players’ ability to control and distribute the ball effectively. Exercises include short and long-range passing, both on the ground and in the air, with an emphasis on accuracy and consistency. Players practice receiving techniques such as cushioning the ball, using different surfaces, and maintaining control under pressure. Dynamic drills involve moving targets and game-like scenarios, simulating match conditions. These exercises aim to improve first-touch quality, decision-making, and the ability to play one-touch or two-touch passes seamlessly. By mastering these skills, players can dictate the flow of the game and create scoring opportunities;
Injury Prevention and Recovery
Injury prevention and recovery are critical components of a successful pre-season program. Proper warm-up routines, flexibility exercises, and recovery techniques help maintain player health and enhance performance.
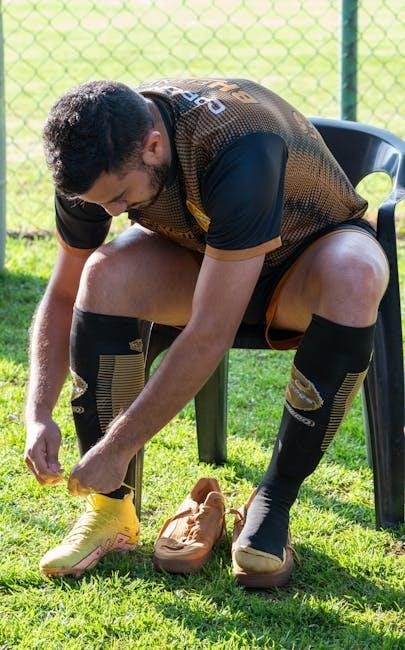
Warm-Up and Cool-Down Routines

Proper warm-up and cool-down routines are essential for injury prevention and performance enhancement. A dynamic warm-up, lasting 15-20 minutes, includes light cardio, dynamic stretches, and mobility exercises to prepare muscles for intense training. This routine improves blood flow, reduces muscle stiffness, and enhances flexibility. Similarly, a cool-down session, lasting 10-15 minutes, involves static stretching and breathing exercises to gradually lower heart rate and promote recovery. Over the 6-week program, these routines adapt to increasing intensity, ensuring players maintain optimal physical condition. Incorporating these practices consistently reduces the risk of injuries and accelerates recovery, allowing athletes to perform at their best throughout the pre-season. These routines are scientifically backed and tailored to meet the demands of soccer-specific movements.
Flexibility and Mobility Exercises
Flexibility and mobility exercises are vital for maintaining range of motion, preventing injuries, and enhancing soccer-specific movements. Dynamic stretches, such as leg swings and hip circles, are incorporated to improve joint mobility and muscle elasticity. Static stretches, like hamstring and quadriceps stretches, are performed post-session to promote recovery and reduce muscle tightness. Over the 6-week program, these exercises progress in intensity, focusing on areas critical for soccer, such as the hips, hamstrings, and calves. Incorporating foam rolling and self-myofascial release techniques further enhances muscle recovery and flexibility. These practices ensure players maintain optimal mobility, enabling them to perform at their best during training and matches. Regular consistency in these exercises is key to long-term injury prevention and performance improvement.

Nutrition and Recovery Strategies
Proper nutrition and recovery are essential for optimizing performance. A balanced diet rich in carbohydrates, proteins, and fats fuels training, while hydration and post-workout recovery strategies, like protein shakes, aid muscle repair.
Optimal Nutrition for Performance
A balanced diet is vital for soccer players to fuel their training and recovery. Carbohydrates provide energy, proteins aid muscle repair, and fats support overall health. Hydration is equally important, with water and electrolytes replenishing fluids lost during intense sessions. Post-workout recovery meals should include a mix of carbohydrates and proteins to restore energy stores and rebuild muscle tissue. Timing meals strategically, such as eating a light meal 2-3 hours before training, ensures optimal energy levels. Avoiding heavy, high-fat foods pre-session prevents digestive discomfort. Additionally, avoiding excessive sugar and caffeine helps maintain consistent energy levels. A well-planned nutrition strategy supports physical conditioning, technical proficiency, and mental focus, enabling players to perform at their best throughout the 6-week program. Proper nutrition also reduces the risk of fatigue and injury, ensuring peak performance.
Recovery Techniques for Enhanced Performance
Proper recovery is essential for optimizing performance during a 6-week pre-season program. Techniques such as foam rolling, stretching, and dynamic mobility exercises help reduce muscle soreness and improve flexibility. Incorporating ice baths or contrast showers can further aid in reducing inflammation and speeding up muscle repair. Additionally, compression garments and massage therapy can enhance blood flow, promoting recovery. Prioritizing quality sleep is crucial, as it allows the body to repair and adapt to the demands of training. Active recovery sessions, such as light jogging or swimming, can also maintain cardiovascular fitness without overtaxing the body. By integrating these recovery strategies, players can minimize fatigue, prevent injuries, and ensure consistent progress throughout the program. Consistent recovery practices are vital for achieving peak performance and longevity in the season.
A well-structured 6-week pre-season training program is essential for soccer players to achieve peak performance. By focusing on physical conditioning, technical proficiency, and tactical awareness, players can build a strong foundation for the competitive season. Proper recovery techniques, nutrition, and consistent training ensure optimal progress and injury prevention. This program not only enhances endurance, strength, and agility but also improves decision-making and teamwork. Players who commit to this program will be better prepared to meet the demands of the season, perform at their best, and contribute effectively to their team’s success. Dedication and adherence to the program will yield significant improvements, setting the stage for a successful and injury-free season.