The Honeywell Pro 4000 Series offers a programmable digital thermostat designed for smart home upgrades, ensuring energy efficiency and comfort with easy installation and user-friendly features.
1.1 Overview of the Honeywell Pro 4000 Series
The Honeywell Pro 4000 Series is a line of programmable digital thermostats designed for smart home upgrades, offering energy efficiency and comfort. These thermostats are pre-programmed for ease of use and compatibility with various HVAC systems. The series includes models like the TH4110D and TH4210D, supporting 1 Heat/1 Cool and 2 Heat/1 Cool systems, respectively. With features like daily scheduling and remote access, the Pro 4000 Series is ideal for homeowners seeking convenient temperature control. User manuals and guides are available online for seamless installation and operation.
1.2 Key Features of the Pro 4000 Programmable Thermostat
The Pro 4000 Programmable Thermostat offers advanced features like programmable comfort control, allowing up to four time periods daily. It supports compatibility with Honeywell zoning panels and includes optional cover plate installation. The thermostat is battery-powered, with options for alkaline batteries, and provides remote access for convenient temperature adjustments. Its smart home integration capabilities ensure seamless connectivity with other devices. Additionally, it includes energy-saving modes and an easy-to-use interface for optimal performance and efficiency. These features make it a versatile choice for modern heating and cooling systems.

Pre-Installation Requirements
Before installing the Honeywell Pro 4000, ensure compatibility with your heating and cooling systems. Verify the power is off and check the system switch settings.
2.1 Compatibility Check for Heating and Cooling Systems
Ensure the Honeywell Pro 4000 thermostat is compatible with your HVAC system. Verify if your system is a 1 Heat/1 Cool, 2 Heat/1 Cool, or 1 Heat/2 Cool configuration. The thermostat supports systems like TH4110D for single-stage and TH4210D for two-stage systems. Check if your system uses a heat pump or emergency heat, as compatibility varies. Refer to the user manual for specific system requirements to avoid installation issues. Proper compatibility ensures optimal performance and efficiency.
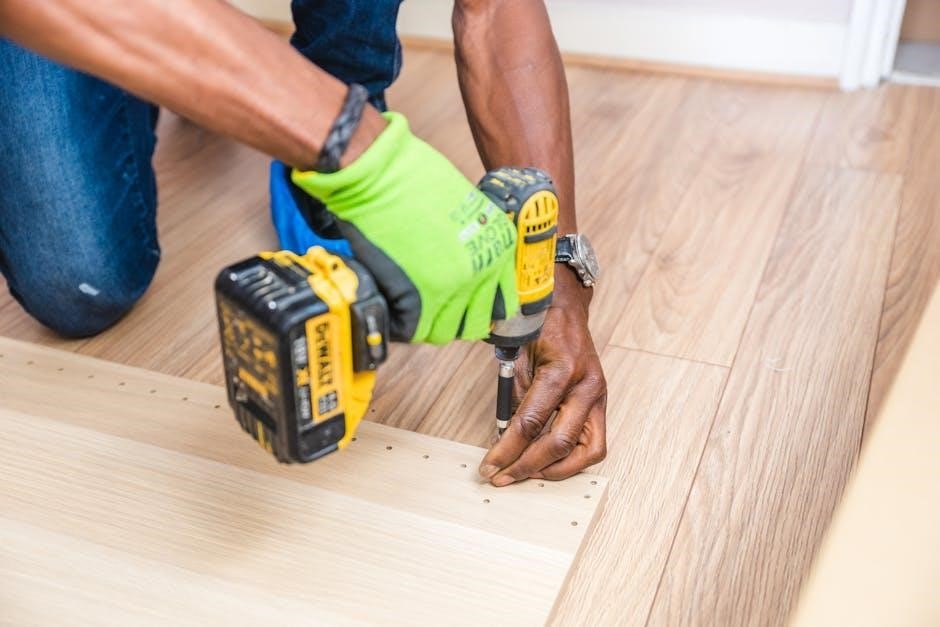
2.2 Tools and Materials Needed for Installation
To install the Honeywell Pro 4000 thermostat, gather the following tools and materials: a screwdriver (Phillips and flathead), wire strippers, a drill, wall anchors, and a level. Ensure you have fresh AA alkaline batteries for the thermostat. Additional materials may include jumper wires for specific system configurations. Refer to the user manual for any system-specific requirements. Having all tools and materials ready ensures a smooth installation process.
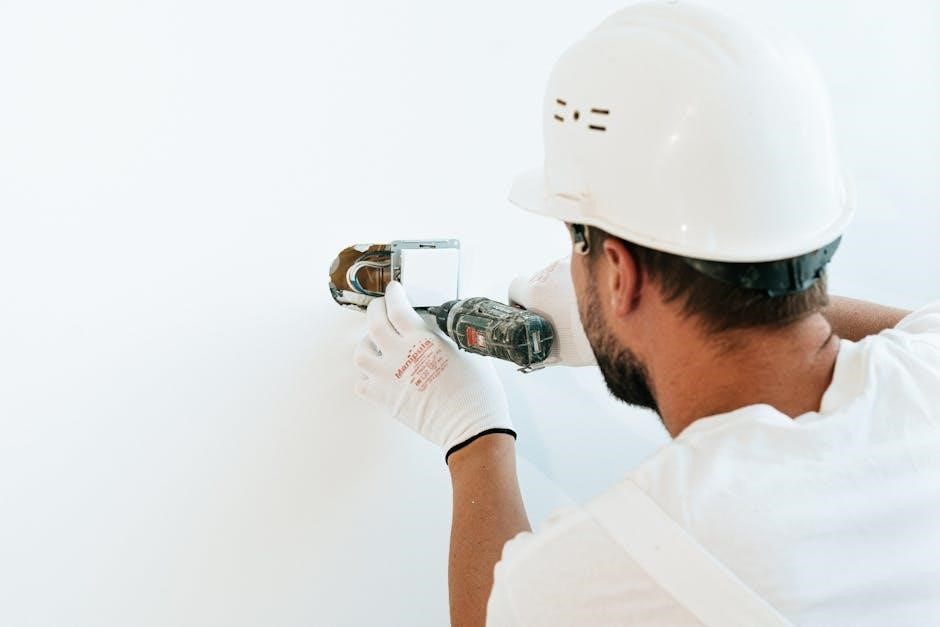
Installation Process
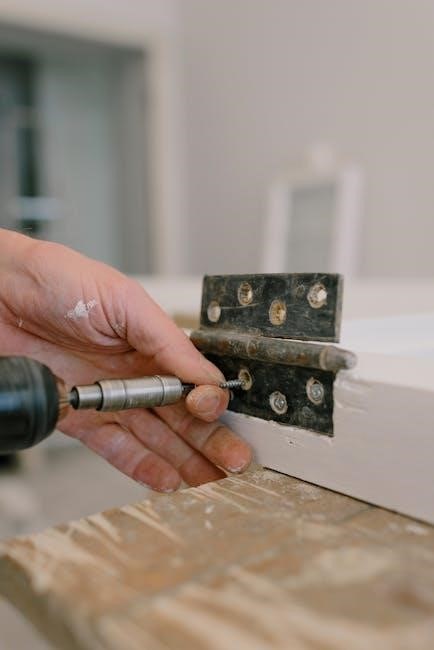
The Honeywell Pro 4000 installation involves mounting the wallplate, connecting wires, and securing the thermostat. Start by removing the wallplate and pulling wires through the hole. Mount the wallplate using screws and wall anchors, ensuring it is level. Connect the wires to the appropriate terminals, following the wiring diagram in the manual. Reattach the thermostat to the wallplate and tighten the screws. Finally, install the optional cover plate if desired. Turn the power on and perform a final check to ensure everything functions properly.
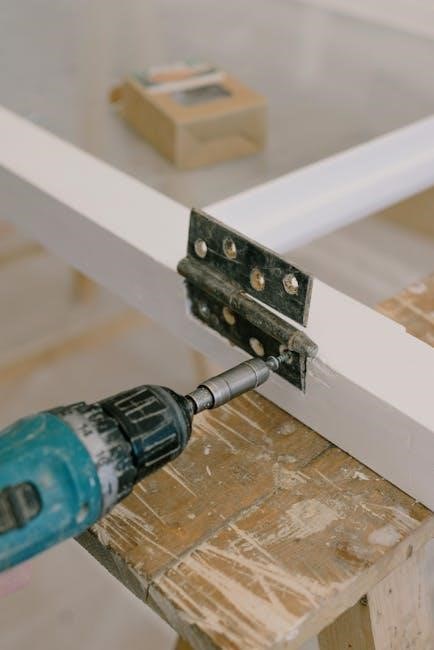
3.1 Wallplate Installation and Mounting
To install the wallplate, remove it from the thermostat by pulling from the bottom. Pull the wires through the wire hole and mount the wallplate using screws and wall anchors. Ensure the wallplate is level and securely fastened. Follow the provided instructions for proper alignment and tightening. This step ensures a stable base for the thermostat, allowing for accurate temperature regulation and smooth operation. Proper installation is crucial for optimal performance and trouble-free use.
3.2 Wiring Connections for the Pro 4000 Thermostat
Ensure the power to your HVAC system is turned off before proceeding. Remove the wallplate and pull the wires through the wire hole. Connect the wires to the appropriate terminals on the thermostat, following the labels (e.g., R, W, Y, G, C, etc.). Refer to the manual for specific terminal assignments. Double-check all connections for accuracy to avoid system malfunctions. Secure any excess wire neatly behind the wallplate. Once wiring is complete, proceed to the next installation steps. Proper wiring ensures reliable operation of your Honeywell Pro 4000 thermostat.
3.3 Optional Cover Plate Installation
After completing the wiring connections, you may install the optional cover plate for a polished look. Align the cover plate with the thermostat’s mounting screws and gently snap it into place. Ensure it fits securely without obstructing the display or controls. The cover plate is designed to protect the wiring and add a decorative touch. If you choose not to use it, proceed to the final checks; This step is entirely optional and does not affect the thermostat’s functionality. Refer to the manual for additional guidance if needed.
3.4 Final Checks Before Powering On
Before powering on the Honeywell Pro 4000 thermostat, perform a thorough inspection. Verify that all wiring connections are secure and correctly matched to their respective terminals. Ensure the wallplate is properly mounted and the thermostat is level. Check that the system switch is set to the correct mode (Heat/Cool/Off). Make sure fresh AA alkaline batteries are installed if required. Confirm that the furnace door is closed securely and the power switch for the HVAC system is turned on. Finally, review all connections to ensure there are no loose wires or misconfigurations. This step ensures safe and proper operation.
Programming the Pro 4000 Thermostat
Programming the Honeywell Pro 4000 thermostat is straightforward, allowing users to set daily schedules and preferences for optimal comfort and energy efficiency. Initial setup includes configuring time and temperature settings, while advanced options enable custom adjustments for specific needs. The thermostat supports up to four time periods daily, with distinct settings for weekdays and weekends, ensuring tailored heating and cooling solutions. This flexibility makes it easy to balance convenience with energy savings.
4.1 Initial Setup and Configuration
The initial setup of the Honeywell Pro 4000 thermostat begins with setting the current date and time. Users must also select their preferred temperature units (Fahrenheit or Celsius). Next, choose the HVAC system type, such as heat-only, cool-only, or heat pump. Configuring the thermostat’s display settings, like brightness and language, ensures a personalized experience. Finally, setting the initial temperature and scheduling preferences completes the basic configuration, making the thermostat ready for daily operation. Proper setup ensures optimal performance and energy efficiency from the start.
4.2 Setting Up Daily Schedules and Preferences
To maximize energy savings, the Honeywell Pro 4000 allows users to create customized daily schedules. Program four time periods per day, with distinct settings for weekdays and weekends. Choose from options like “Wake,” “Leave,” “Return,” and “Sleep” to align temperature adjustments with your routine. Users can also set preferences for heating and cooling limits, ensuring comfort while optimizing energy usage. Additionally, the thermostat offers energy-saving features that automatically adjust temperatures during inactive periods, further enhancing efficiency without compromising convenience.
4.3 Advanced Programming Options
The Honeywell Pro 4000 offers advanced programming features for tailored comfort and efficiency. Users can customize temperature settings based on specific days or events, adjust heating and cooling limits, and enable geofencing for location-based control. Advanced options also include humidity control, stage heating/cooling, and system priority settings. For precise control, the thermostat supports multiple HVAC stages and zoning systems; These features allow homeowners to fine-tune their environment while optimizing energy usage. Refer to the user manual for detailed instructions on configuring these settings to suit your lifestyle and preferences.
Features and Capabilities
The Honeywell Pro 4000 offers energy-saving modes, smart home integration, and remote access, ensuring efficient temperature control and seamless connectivity for enhanced comfort and convenience.
5.1 Energy-Saving Modes and Settings
The Honeywell Pro 4000 thermostat features advanced energy-saving modes that optimize heating and cooling usage. With programmable settings, users can schedule up to four daily time periods, adjusting temperatures for weekdays and weekends. This ensures energy efficiency while maintaining comfort. The thermostat also includes smart recovery technology, learning your system’s operation to minimize energy waste. By programming preferences, homeowners can significantly reduce energy consumption without compromising on convenience or performance.
5.2 Smart Home Integration Options
The Honeywell Pro 4000 thermostat seamlessly integrates with smart home systems, enhancing convenience and control. It is compatible with popular platforms like Amazon Alexa and Google Assistant, allowing voice command functionality. Users can also connect the thermostat to Honeywell’s zoning panels for advanced system management. The thermostat supports remote access through the Honeywell Home app, enabling adjustments from anywhere. This integration ensures a unified smart home experience, with automated temperature adjustments based on your schedule and preferences, maximizing comfort and efficiency.
5;3 Remote Access and Control Features
The Honeywell Pro 4000 thermostat offers robust remote access and control capabilities through the Honeywell Home app. Users can adjust temperatures, monitor system performance, and receive alerts on their smartphones or tablets. Geofencing technology automatically adjusts settings based on your location, optimizing energy use; Remote diagnostics enable quick troubleshooting, while custom schedules ensure consistent comfort. This feature-rich system provides unparalleled convenience, allowing you to manage your home’s climate effortlessly from anywhere, enhancing both efficiency and peace of mind. It’s designed to integrate seamlessly with your lifestyle.
Troubleshooting Common Issues
Common issues include unresponsiveness to temperature adjustments or system malfunctions. Ensure power is on, batteries are correctly installed, and all connections are secure before restarting the system.
6.1 System Not Responding to Temperature Adjustments
If the system is not responding to temperature changes, ensure the power switch for your HVAC system is on. Verify that fresh AA alkaline batteries are correctly installed and that all wiring connections are secure. Check the system switch settings and ensure it is set to the appropriate mode (Heat or Cool). Make sure the desired temperature is set higher (for heating) or lower (for cooling) than the current room temperature. If issues persist, reset the thermostat by removing and reinstalling the batteries.
6.2 Heating or Cooling System Malfunction
If the heating or cooling system fails to operate, ensure the system switch is set to the correct mode (Heat or Cool). Verify that the thermostat is properly configured for your system type. Check for any loose wiring connections, especially between the thermostat and HVAC system. Ensure the furnace door is closed securely and that no emergency heat settings are interfering. If the issue continues, consult the user manual or contact Honeywell customer support for further assistance and troubleshooting steps.
6.3 Battery and Power-Related Issues
If the thermostat’s display is blank or unresponsive, check the battery levels. Ensure fresh AA alkaline batteries are correctly installed, avoiding reversed polarity. If using a hardwired model, verify that the power supply is stable. Cycle the circuit breaker or check the fuse box to restore power; For battery models, remove the wallplate and inspect the battery compartment for proper alignment. If issues persist, consult the user manual or contact Honeywell support for further troubleshooting and potential firmware updates.

Maintenance and Upkeep
Regularly clean the thermostat’s display and sensors to ensure accuracy. Inspect wiring for damage and update software periodically. Replace batteries as needed to maintain functionality.
7.1 Regular Cleaning and Inspection
Regular cleaning and inspection are essential for maintaining the Honeywell Pro 4000 Thermostat’s performance. Remove the wallplate to access internal components and gently clean the display and sensors using a soft cloth. Avoid harsh chemicals to prevent damage.
Inspect wiring for signs of wear or damage and ensure all connections are secure. Check the thermostat’s sensors for dust buildup, as this can affect temperature accuracy; Refer to the user manual for detailed cleaning instructions.
7.2 Updating Software and Firmware
Regular software and firmware updates ensure the Honeywell Pro 4000 Thermostat operates at peak performance. Visit the Honeywell website or access the user manual for update instructions.
Connect the thermostat to your computer or use a smartphone app to check for updates. Download and install the latest version carefully, following on-screen prompts. Avoid interrupting the update process to prevent system issues.
After installation, restart the system to apply changes. Updated firmware enhances functionality, improves compatibility, and addresses potential bugs for optimal operation.
Warranty and Support
The Honeywell Pro 4000 Thermostat comes with a comprehensive warranty covering parts and labor. Visit Honeywell’s official website for detailed terms and conditions.
For customer support, contact Honeywell via their website or phone. Additional resources, including troubleshooting guides, are available online to assist with any issues.
8.1 Honeywell Warranty Information
The Honeywell Pro 4000 Thermostat is backed by a comprehensive warranty ensuring customer satisfaction. The standard warranty covers parts and labor for a specified period, typically up to five years, depending on the model and region. This warranty ensures that any manufacturing defects or malfunctions are addressed promptly, providing users with peace of mind. For detailed terms and conditions, including warranty duration and coverage specifics, visit Honeywell’s official website or refer to the product manual provided with your thermostat.
8.2 Contacting Customer Support
For any inquiries or assistance with the Honeywell Pro 4000 Thermostat, customers can reach out to Honeywell’s dedicated customer support team. Visit the official Honeywell website to find contact details, including phone numbers and email options. Additionally, the website offers a comprehensive support section with FAQs, troubleshooting guides, and downloadable resources. Representatives are available to address installation, programming, or warranty-related questions. Ensure to have your product model number handy for efficient assistance. Honeywell’s support team is committed to resolving issues promptly and ensuring a seamless user experience.
The Honeywell Pro 4000 thermostat offers a user-friendly solution for home climate control with easy installation, programmable settings, and energy-saving features, ensuring comfort and efficiency. By following this guide, users can optimize their home’s temperature management effectively.
9.1 Summary of Key Installation Steps
To successfully install the Honeywell Pro 4000 thermostat, begin by ensuring compatibility with your heating and cooling systems. Turn off power to the system before starting. Remove the wallplate from the thermostat and mount it securely, pulling wires through the provided hole. Connect the wires according to the wiring diagram in the manual. Install the optional cover plate if desired. Perform final checks to ensure all connections are secure and the system is ready for power. Refer to the user manual for model-specific instructions and troubleshooting tips. Use the correct tools and follow safety precautions to avoid damage or injury.
9.2 Final Tips for Optimal Performance
For optimal performance, ensure the Honeywell Pro 4000 thermostat is installed correctly and programmed according to your schedule. Regularly clean the device and update its software to maintain functionality. Check battery installation and ensure proper wiring connections. Set energy-saving modes and smart home integrations to maximize efficiency. Schedule daily preferences and review advanced settings for tailored comfort. Perform routine inspections and follow troubleshooting guidelines to address any issues promptly. Proper maintenance and configuration will enhance energy savings and system reliability, ensuring long-term satisfaction with your Honeywell Pro 4000 thermostat.
Additional Resources
Visit Honeywell’s official website for the full user manual, online guides, and FAQs. Access troubleshooting tips, installation videos, and software updates for optimal performance.
10.1 Accessing the Full User Manual
To access the Honeywell Pro 4000 user manual, visit the official Honeywell website. Navigate to the support section and search for “Pro 4000 Thermostat Manual.” Download the PDF for detailed installation, programming, and troubleshooting guides. Additionally, the manual includes warranty information and advanced setup options. Ensure you have the correct model number, such as TH4110D or TH4210D, for accurate instructions. This resource is essential for maximizing the thermostat’s features and resolving any operational issues efficiently.
10.2 Online Guides and Tutorials
Visit the Honeywell website for comprehensive online guides and tutorials specific to the Pro 4000 thermostat. These resources include step-by-step installation videos, programming instructions, and troubleshooting tips. Model-specific guides, such as those for TH4110D and TH4210D, are available to ensure accurate setup. Additionally, Honeywell’s support page offers FAQs and interactive demos to help users master advanced features. For further assistance, explore forums and community discussions where experts and users share tips for optimizing the Pro 4000’s performance and resolving common issues efficiently.
10.3 Frequently Asked Questions (FAQs)
Explore the FAQs section on Honeywell’s official website for answers to common queries about the Pro 4000 thermostat. Topics include installation troubleshooting, such as ensuring proper wiring and system compatibility, and programming tips for maximizing energy savings. FAQs also address battery replacement, error codes, and smart home integration. Users can find solutions to issues like the system not responding to temperature changes and tips for maintaining optimal performance. This resource is updated regularly to address user concerns and provide clarity on advanced features.