Lake Winnipeg offers a premier ice fishing experience‚ renowned for its trophy walleye and sauger. Guided tours provide expert knowledge‚ ensuring a memorable and productive adventure on this vast‚ icy expanse.
Preparation for Ice Fishing
Preparation is key for a successful ice fishing trip on Lake Winnipeg. Check weather and ice conditions‚ consult a guide for expert advice‚ and ensure all gear is ready for the adventure.
Essential Gear for Lake Winnipeg Ice Fishing
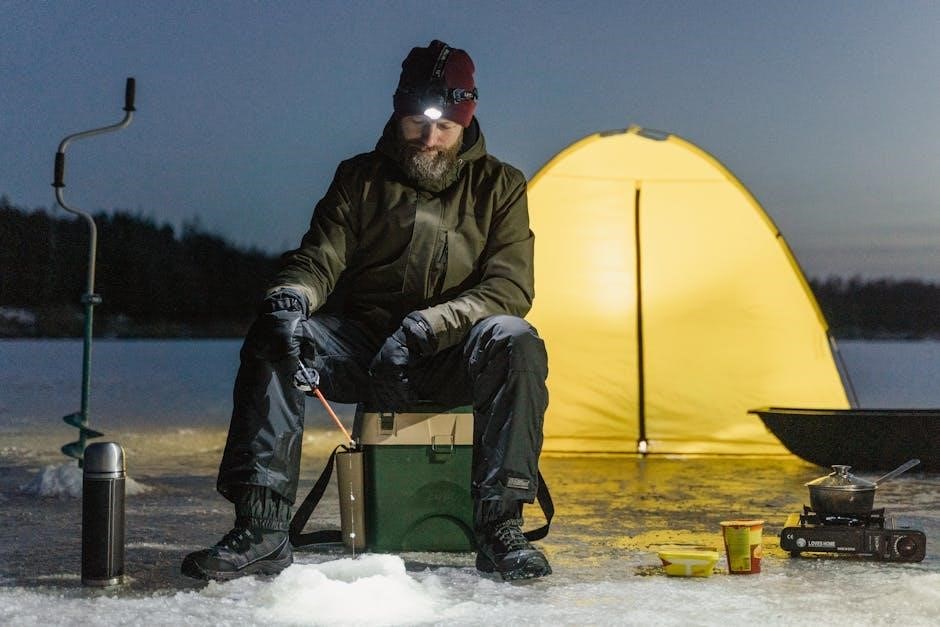
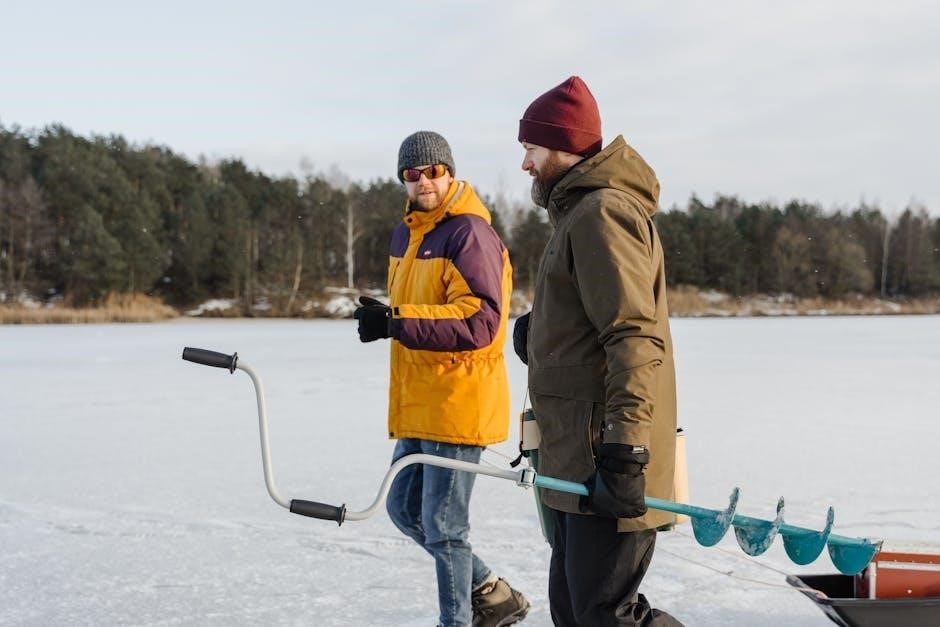
For a successful ice fishing experience on Lake Winnipeg‚ having the right gear is crucial. A portable ice auger is essential for drilling holes through the thick ice‚ while a skimmer helps remove slush. Lightweight‚ sensitive ice fishing rods and reels are ideal for detecting bites in cold conditions. Live bait‚ such as jigs and spoons‚ is highly effective for attracting walleye and sauger. Thermal ice shelters provide protection from harsh winds and freezing temperatures‚ and a reliable heater can enhance comfort during long days on the ice. Don’t forget waterproof‚ insulated boots and warm clothing to prevent hypothermia. A depth finder or sonar device is also valuable for locating fish and structures like rock piles or drop-offs. Guides often recommend rattling lipless crankbaits for covering water efficiently. Ensuring all gear is in good condition and suitable for extreme cold is vital for a safe and productive trip.
Importance of Proper Clothing for Ice Fishing
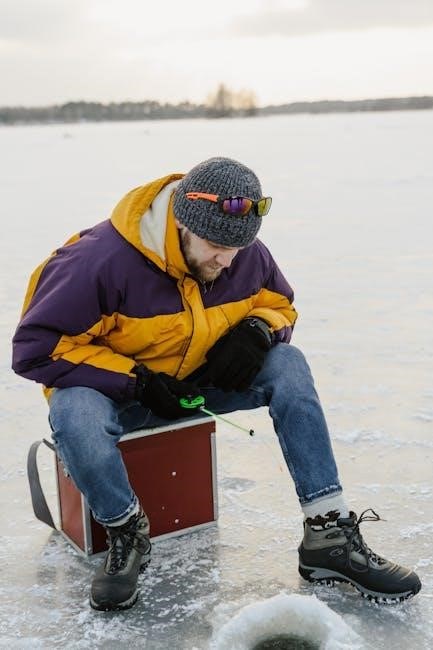
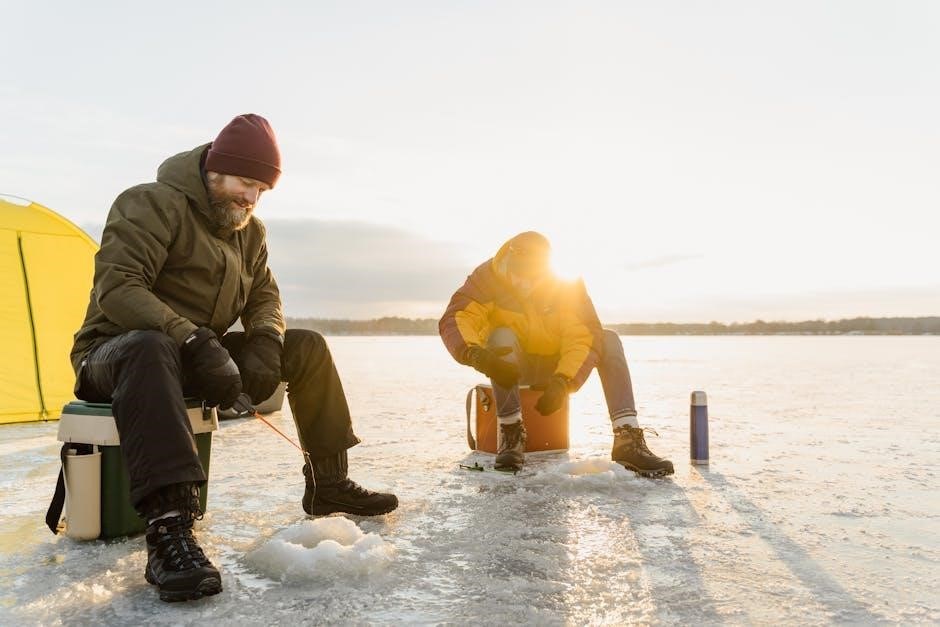
Dressing appropriately is crucial for a safe and enjoyable ice fishing experience on Lake Winnipeg. Layering with breathable‚ moisture-wicking fabrics helps maintain body heat and prevent chilling. A waterproof and windproof outer layer is essential to shield against harsh winds and snow. Insulated‚ waterproof boots with good grip are vital to keep feet dry and warm‚ as cold feet can quickly ruin a trip. Thermal gloves or mittens with a good grip prevent dropping gear and protect hands from frostbite. A warm hat and neck gaiter or face mask add extra protection against the cold. Proper clothing ensures comfort‚ allowing anglers to focus on fishing rather than the elements. Guides emphasize that staying warm and dry is key to enduring long hours on the ice‚ making the right clothing a top priority for any successful ice fishing adventure on Lake Winnipeg.
Best Fishing Locations on Lake Winnipeg
Lake Winnipeg is renowned for its trophy walleye and sauger‚ with prime spots near the Red River and areas guided by experts like Donovan Pearase and Dan Kiazyk for successful ice fishing trips.
Identifying Prime Ice Fishing Spots
Identifying prime ice fishing spots on Lake Winnipeg requires a combination of local knowledge and strategic techniques. Key areas include the Red River inlet‚ North Basin‚ and structures like rock piles and submerged islands‚ where walleye and sauger often congregate. Guides like Donovan Pearase and Dan Kiazyk specialize in locating these hotspots‚ ensuring anglers maximize their chances of success. Depth plays a crucial role‚ with many fish found in 4- to 10-foot zones. Using sonar and understanding seasonal fish movements are essential tools for pinpointing active schools. Additionally‚ areas with consistent ice ridges and slush zones often hold fish‚ as they provide cover and feeding grounds. By focusing on these prime locations and employing effective techniques‚ anglers can enhance their ice fishing experience on Lake Winnipeg.
- Red River inlet and North Basin are top locations.
- Rock piles and submerged islands attract fish.
- Depth zones of 4-10 feet are highly productive.
- Ice ridges and slush areas provide cover for fish.
Guided tours offer invaluable insights‚ ensuring anglers target the right spots for a successful trip.
Effective Ice Fishing Techniques
Effective ice fishing on Lake Winnipeg involves a mix of traditional methods and modern gear. Rattling lipless crankbaits are highly effective for covering water and locating fish in depths of 4-10 feet. Jigging with spoons or minnows is another popular technique‚ as it mimics the movement of baitfish‚ attracting walleye and sauger. Setting tip-ups in strategic locations allows anglers to cover multiple areas simultaneously‚ increasing the chances of a bite. Guides often recommend using light tackle to detect subtle strikes‚ especially when targeting smaller species. Varying retrieval speeds and pauses can entice cautious fish. Additionally‚ understanding fish behavior and adapting to changing ice conditions are crucial for success. By combining these techniques with expert guidance‚ anglers can maximize their catch and enjoy a rewarding ice fishing experience on Lake Winnipeg.
- Rattling lipless crankbaits for active fish.
- Jigging with spoons or minnows to mimic baitfish.
- Using tip-ups to cover multiple locations.
- Light tackle for detecting subtle strikes.
Adaptability and local expertise are key to a successful trip.
Safety Measures on the Ice
Always check ice thickness‚ use crampons for traction‚ and carry ice picks for emergencies. Stay informed about weather conditions and avoid traveling alone to ensure a safe ice fishing experience.
Understanding Ice Conditions for Safe Fishing
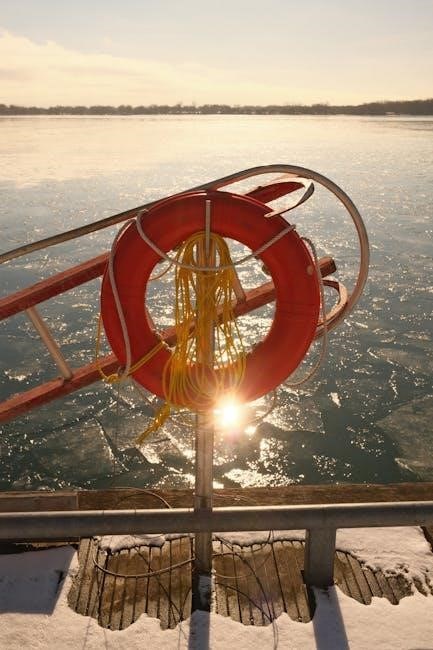
Assessing ice thickness is crucial for safe fishing on Lake Winnipeg. A minimum of 4 inches of clear ice is recommended for walking‚ while 8-12 inches is needed for vehicles. Avoid areas with flowing water or dark spots‚ as these indicate weaker ice. Use an ice chisel or auger to test thickness and carry a rope or flotation device. Guides often monitor ice conditions closely‚ ensuring safe access to prime fishing spots. Always stay updated on weather forecasts‚ as sudden changes can weaken ice stability. Respecting ice conditions ensures a safe and enjoyable fishing experience on Lake Winnipeg.
Emergency Preparedness While Ice Fishing
Being prepared for emergencies is vital when ice fishing on Lake Winnipeg. Always carry a first aid kit‚ flashlight‚ and ice picks to help escape if you fall through the ice. A fully charged cell phone or satellite phone is essential for calling for help. Dress in layers to stay warm and bring a portable heater or emergency blanket. Inform someone of your fishing location and expected return time. Guides often carry emergency equipment and know how to respond in critical situations. Stay with a group whenever possible‚ as assistance is quicker in an emergency. Keep a small bag with essentials like hand warmers‚ a whistle‚ and a fire starter. Familiarize yourself with hypothermia symptoms and know how to treat them. Proper preparedness ensures a safe and enjoyable experience on the ice.
Legal and Regulatory Requirements
A valid Manitoba fishing license and permit are required for ice fishing on Lake Winnipeg. Adhere to catch limits and size restrictions to ensure compliance with local regulations and avoid penalties.
Fishing Licenses and Permits for Lake Winnipeg
To engage in ice fishing on Lake Winnipeg‚ obtaining the proper fishing license and permits is essential. A valid Manitoba recreational fishing license is required for all anglers‚ with specific regulations for residents and non-residents. Non-residents must purchase an out-of-province license‚ which may include additional permits depending on the duration of their stay. These licenses can typically be purchased online or at local tackle shops and must be carried while fishing. Additionally‚ Lake Winnipeg may require special permits for certain species or fishing areas‚ so it’s important to check local regulations beforehand. Compliance with these requirements ensures that anglers contribute to the conservation of fish populations and avoid potential penalties. Guided tours often assist with navigating these legal requirements‚ making the process smoother for visitors. Always verify the most up-to-date information to ensure a lawful and enjoyable fishing experience.
Catch Limits and Size Restrictions
Catch limits and size restrictions are crucial for maintaining sustainable fish populations on Lake Winnipeg. Anglers must adhere to regulations set by Manitoba Fisheries‚ which vary depending on the species. For walleye‚ a popular target in ice fishing‚ there is typically a daily catch limit of 4 fish‚ with a minimum size restriction to protect juvenile populations. Size restrictions ensure that smaller fish are allowed to mature and contribute to future stocks. These regulations apply to both recreational and guided ice fishing trips. It’s essential to familiarize yourself with the current season’s limits and restrictions before heading onto the ice. Guides often provide valuable insights and ensure compliance‚ helping anglers avoid penalties while promoting conservation efforts. Always check the latest updates from Manitoba Fisheries to ensure a responsible and enjoyable fishing experience on Lake Winnipeg.
Benefits of Hiring a Guide
Hiring a guide enhances your Lake Winnipeg ice fishing experience by providing local knowledge‚ proven strategies‚ and access to prime spots. Guides handle logistics‚ ensuring a safe and enjoyable adventure.
Why Use a Guided Ice Fishing Service
Guided ice fishing services on Lake Winnipeg provide unparalleled expertise and convenience. Local guides possess intimate knowledge of the lake’s best fishing spots‚ seasonal patterns‚ and effective techniques‚ maximizing your chances of a successful trip. They handle all logistics‚ including equipment setup‚ ensuring you focus solely on fishing. Additionally‚ guides offer valuable insights into walleye and sauger behavior‚ helping you adapt to changing conditions. Their experience also ensures safety‚ as they can assess ice conditions and navigate challenging terrain. For both novice and experienced anglers‚ a guided service enhances the overall experience‚ making your time on the ice more productive and enjoyable. With their support‚ you can fully immerse yourself in the thrill of ice fishing on one of North America’s most iconic lakes.
Choosing the Right Ice Fishing Guide
Selecting the right ice fishing guide for Lake Winnipeg is crucial for a successful and enjoyable trip. Look for guides with extensive local knowledge and experience‚ as they understand the lake’s unique conditions‚ seasonal patterns‚ and prime fishing locations. Ensure the guide has a proven track record‚ with positive reviews and testimonials from previous clients. Many reputable guides‚ such as Donovan Pearase of Blackwater Cats or Dan Kiazyk of Cat Eye Fishing‚ specialize in trophy walleye and sauger‚ offering tailored experiences for both novice and experienced anglers. Additionally‚ choose a guide who prioritizes safety‚ uses high-quality equipment‚ and adheres to sustainable fishing practices. Ask about their approach to teaching techniques and adapting to varying ice conditions. A good guide will enhance your understanding of the fishery while ensuring a memorable adventure on Lake Winnipeg.
Tips for a Successful Ice Fishing Trip
Plan thoroughly‚ use local guides for expertise‚ and adapt to changing ice conditions. Patience and the right gear are key to a rewarding experience on Lake Winnipeg’s icy waters.
Timing and Patience in Ice Fishing
Timing is crucial for a successful ice fishing trip on Lake Winnipeg. Fish are most active during early morning and late evening hours‚ when light penetration is minimal.
Patience is equally important‚ as walleye and sauger often take time to approach bait. Guides recommend setting up in prime spots and waiting for fish to move into the area.
Seasonal variations also play a role‚ with peak activity during the colder months. Understanding these patterns ensures a more productive and enjoyable experience on the ice.
Respecting the Environment
Respecting the environment is essential for preserving Lake Winnipeg’s ecosystem and ensuring sustainable ice fishing practices. Anglers should minimize waste by properly disposing of trash‚ including fishing line and bait packaging.
Using biodegradable materials for bait and lines can help reduce environmental impact. Avoid disturbing the ice and surrounding areas unnecessarily‚ as this can disrupt fish habitats and other wildlife.
Guides often emphasize the importance of leaving the ice in the same condition as it was found. Following local regulations‚ such as catch limits and gear restrictions‚ also plays a crucial role in protecting the environment.
By adopting eco-friendly practices‚ anglers contribute to the long-term health of Lake Winnipeg‚ ensuring future generations can enjoy this incredible resource.
Lake Winnipeg offers an unparalleled ice fishing experience‚ with its abundant walleye and sauger populations attracting anglers worldwide. Guided tours provide invaluable expertise‚ ensuring both novice and experienced anglers make the most of their trip.
Respecting the environment and adhering to local regulations are crucial for preserving this incredible resource. By choosing eco-friendly practices and supporting responsible guiding services‚ anglers can help protect Lake Winnipeg’s ecosystem for future generations.
Whether you’re seeking trophy fish or a peaceful day on the ice‚ Lake Winnipeg’s guided ice fishing adventures promise unforgettable memories. Plan carefully‚ stay safe‚ and embrace the beauty of this frozen wilderness.