Cows‚ a notoriously dark novel by Matthew Stokoe‚ explores themes of extreme violence and societal decay through the story of Steven and his monstrous mother‚ the Hagbeast.
1.1. Overview of the Novel
Cows‚ written by Matthew Stokoe‚ is a deeply unsettling and intense novel that delves into themes of extreme violence‚ societal decay‚ and the grotesque. The story follows Steven‚ a troubled young man living in a decaying American city‚ who is trapped in a brutal relationship with his abusive mother‚ known as the Hagbeast. The novel explores themes of alienation‚ self-empowerment‚ and the darker aspects of human nature‚ making it a provocative and fearless work in the genre of gritty urban horror. Its graphic content and unflinching narrative have made it a cult classic.
1.2. The Author’s Background
Matthew Stokoe was born in England and spent his formative years in Australia‚ experiences that heavily influenced his writing. Known for his unflinching and provocative style‚ Stokoe gained recognition with Cows‚ his debut novel. His work often explores themes of societal decay‚ extreme violence‚ and the darker aspects of human nature. Stokoe’s writing is characterized by its gritty realism and intense narrative voice‚ earning him a reputation as a fearless and original storyteller in the genre of urban horror. His unique perspective has captivated readers and solidified his place in contemporary literature.
Plot Summary
Cows follows Steven‚ a young man trapped in a decaying American city with his sadistic mother; His life spirals into chaos‚ exploring themes of violence‚ abuse‚ and escape.
2.1. The Protagonist: Steven
Steven‚ a 25-year-old man‚ is the central figure in Cows‚ trapped in a nightmarish existence with his abusive mother‚ the Hagbeast. Working at a slaughterhouse‚ he is deeply scarred by his environment and his mother’s cruelty. Steven’s life is marked by desperation and a longing for escape‚ driven by a distorted desire for normalcy and love. His relationship with Lucy offers a glimmer of hope‚ but his circumstances push him toward extreme and disturbing actions‚ revealing a deeply troubled psyche shaped by violence and neglect.
2.2. The Setting: A Decaying American City
The story unfolds in a decaying American city‚ where urban decay and moral rot permeate every aspect of life. The bleak‚ squalid environment mirrors the characters’ emotional and psychological turmoil. Steven’s home‚ a grimy apartment‚ and his job at a slaughterhouse further emphasize the pervasive violence and darkness. The city’s decay symbolizes societal collapse‚ creating an atmosphere of dread and hopelessness. This backdrop of urban horror amplifies the novel’s exploration of alienation and the grotesque‚ immersing readers in a world devoid of redemption or escape.
2.3. The Hagbeast: Steven’s Mother
The Hagbeast‚ Steven’s mother‚ is a grotesque‚ sadistic figure who dominates his life with relentless abuse. Her monstrous nature is both physical and psychological‚ as she subjects Steven to unimaginable cruelty. The Hagbeast’s actions are driven by a twisted desire to control and destroy‚ making her one of the most terrifying antagonists in modern literature. Her presence permeates every aspect of Steven’s existence‚ symbolizing the destructive power of toxic relationships and the cycle of abuse that shapes his identity.
Themes in “Cows”
Cows delves into themes of alienation‚ societal decay‚ and the distorted mother-son relationship‚ exploring extreme violence‚ psychological torment‚ and the struggle for self-empowerment in a grim world.
3.1. Extreme Violence and Dark Content
Cows is renowned for its unflinching portrayal of extreme violence and dark themes. The novel includes graphic depictions of torture‚ bestiality‚ and self-surgery‚ creating a grotesque atmosphere. Steven’s brutal reality‚ shaped by his sadistic mother and a decaying urban environment‚ is filled with death and psychological torment. The violence is relentless‚ often surreal‚ and pushes boundaries‚ making it one of the most provocative works in modern horror literature. Stokoe’s fearless approach leaves readers confronting the depths of human depravity and moral decay.
3.2. Alienation and Societal Decay
Cows delves deeply into themes of alienation and societal decay‚ portraying a world where moral and social structures have collapsed. Steven‚ the protagonist‚ is a symbol of isolation‚ trapped in a decaying city and a dysfunctional relationship with his mother. The novel highlights the erosion of human connection and the dehumanizing effects of a brutal environment. Through its grim setting and violent narratives‚ Stokoe critiques societal neglect and the psychological toll of living in a fractured world‚ where individuals like Steven struggle to find meaning amidst chaos and despair.
3.3. The Mother-Son Relationship
The mother-son relationship in Cows is one of the most unsettling aspects of the novel. Steven’s mother‚ referred to as the Hagbeast‚ is a monstrously sadistic figure who subjects him to relentless psychological and physical abuse. This toxic dynamic is central to Steven’s trauma and shapes his warped worldview. The novel portrays a relationship devoid of love or compassion‚ instead filled with manipulation‚ violence‚ and degradation. This twisted bond between Steven and his mother underscores the novel’s exploration of dysfunction and the long-lasting scars of abusive relationships.
Characters
4.1. Steven: A Troubled Young Man
Steven‚ the protagonist‚ is a deeply disturbed young man trapped in a brutal environment‚ struggling with his past and desperate for escape and connection.
4.2. The Hagbeast: A Monstrous Figure
The Hagbeast‚ Steven’s mother‚ is a grotesque and sadistic figure who inflicts relentless physical and psychological abuse‚ embodying pure malevolence and control.
4.3. Lucy: A Glimpse of Hope
Lucy represents a fragile hope in Steven’s life‚ offering a potential escape from his despair and the horrors of his abusive upbringing.
Steven‚ the protagonist of Cows‚ is a deeply disturbed young man living in a bleak‚ violent world. His life is marked by extreme abuse and psychological trauma‚ inflicted by his monstrous mother‚ the Hagbeast. Working at a slaughterhouse‚ Steven is constantly exposed to death and gore‚ which mirrors the darkness of his home life. His desperation for love and normalcy drives his actions‚ yet his environment perpetuates his suffering. Steven’s struggles reflect the novel’s themes of alienation and societal decay‚ making him a complex and haunting figure.
The Hagbeast is Steven’s mother‚ portrayed as a grotesquely obese and sadistic figure who embodies pure malevolence. Her extreme cruelty and violent behavior towards Steven create a toxic environment‚ exacerbating his mental and emotional turmoil. The Hagbeast’s monstrous nature is both physical and psychological‚ making her one of the most disturbing antagonists in contemporary literature. Her presence drives the novel’s dark themes of abuse and decay‚ leaving a lasting impact on readers. Her character serves as a symbol of the destructive forces that shape Steven’s life.
Lucy emerges as a rare beacon of hope in Steven’s otherwise bleak existence. Her presence offers a fleeting escape from the horrors of his abusive upbringing and the oppressive environment of the decaying city. Despite the chaos around him‚ Steven’s interactions with Lucy reveal a deep longing for connection and normalcy. However‚ their relationship is fraught with challenges‚ as the darkness of Steven’s world threatens to consume even this fragile glimmer of hope. Lucy’s character underscores the novel’s exploration of love and despair in the face of overwhelming adversity. Her presence‚ though brief‚ leaves a profound impact on Steven’s journey.
The Title: “Cows”
Matthew Stokoe’s Cows is a haunting title reflecting both its literal and metaphorical significance. The novel’s dark themes of societal decay and horror are encapsulated within this name.
5.1. Symbolism of Cows in the Novel
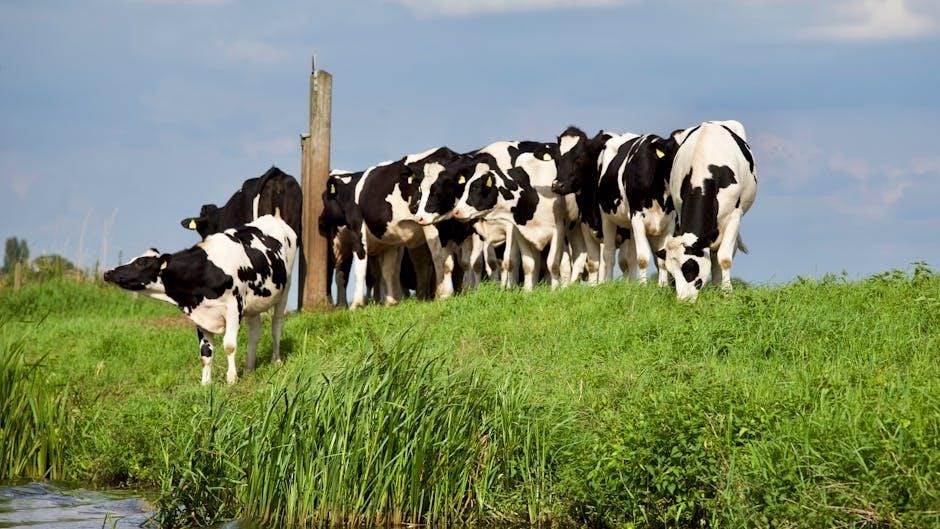
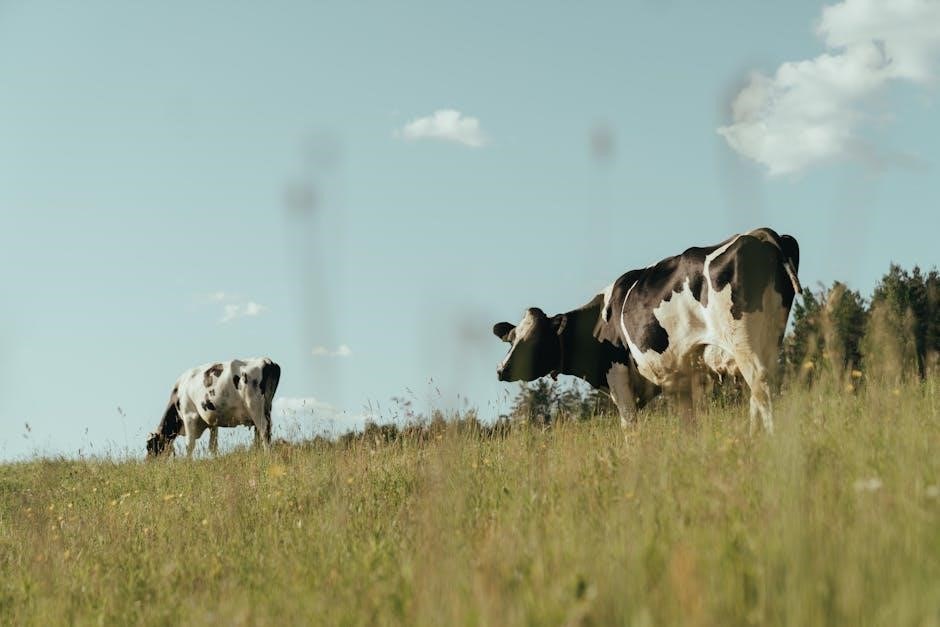
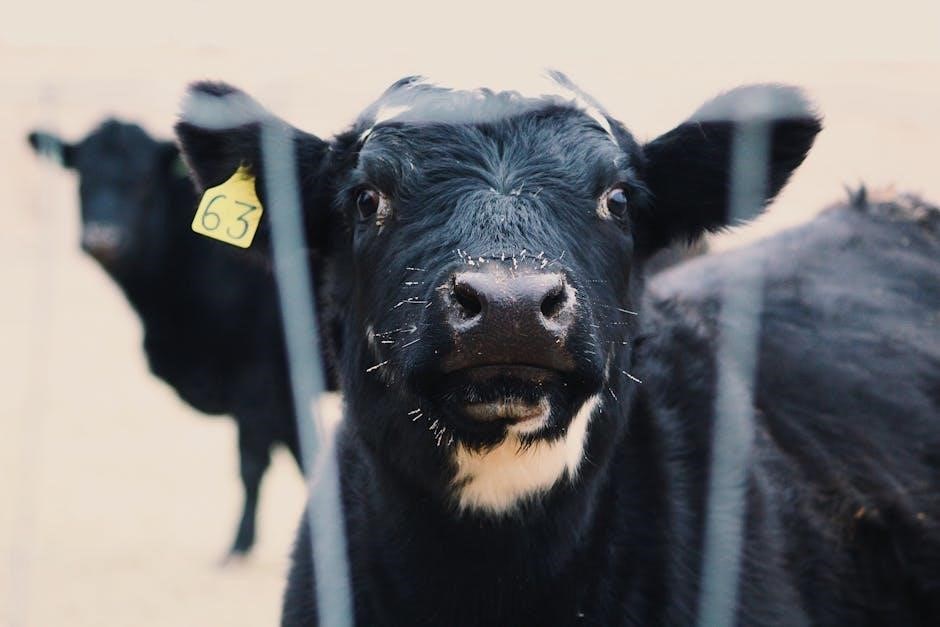
In Cows‚ the bovine imagery serves as a stark metaphor for societal decay and oppression. The novel uses cows to symbolize the grotesque and the banal‚ reflecting themes of exploitation and destruction. Their presence in the slaughterhouse mirrors the brutal treatment of humans‚ while their deaths and the fluids they release symbolize the breakdown of societal structures. The cows also represent the natural world’s resistance to human control‚ embodying both innocence and horror. This duality underscores the novel’s exploration of violence and the loss of humanity in a decaying world.
5.2. The Significance of the Title
The title Cows is deliberately provocative‚ reflecting the novel’s unflinching exploration of violence and societal decay. It evokes the slaughterhouse setting‚ where cows are subjected to brutal destruction‚ mirroring the treatment of humans in the story. The title also hints at the corrupt and dehumanizing forces that drive the narrative. By using such a stark and simple title‚ Stokoe emphasizes the raw‚ visceral nature of the novel‚ leaving a lasting and unsettling impression on readers.
Availability of the Book
Cows by Matthew Stokoe is widely available in various formats‚ including PDF‚ making it accessible to readers worldwide. The novel can be downloaded from multiple online platforms‚ ensuring its reach to a broad audience. Its digital formats cater to different devices‚ enhancing reader convenience and accessibility.
6.1. “Cows” in PDF Format
The PDF version of Cows by Matthew Stokoe is widely available for download‚ offering readers a convenient and accessible way to experience the novel. This format ensures compatibility with various devices‚ making it easy for readers to engage with the story on their preferred platform. The PDF version is popular among fans due to its clarity and portability‚ allowing for seamless reading across smartphones‚ tablets‚ and computers. Its availability on multiple online platforms has made it a sought-after choice for those eager to explore Stokoe’s intense narrative.
6.2. eBook Formats and Compatibility
Cows by Matthew Stokoe is available in multiple eBook formats‚ including ePub‚ MOBI‚ and PDF‚ ensuring compatibility with a wide range of devices. Readers can access the novel on e-readers‚ smartphones‚ and tablets‚ making it convenient to enjoy Stokoe’s intense narrative anywhere. The eBook versions are distributed through platforms like Amazon and other online retailers‚ offering a seamless reading experience for fans of gritty urban horror. This versatility allows readers to immerse themselves in the story without being tied to a single device.
Critical Reception
Cows has polarized readers‚ with some praising its originality and others finding it too extreme. It has gained a cult following and is often compared to works by Irvine Welsh.
7.1. Reviews and Ratings
Cows by Matthew Stokoe has received highly polarized reviews‚ with many readers praising its originality and unflinching portrayal of societal decay. Some critics have hailed it as a cult classic‚ while others find its extreme content and graphic violence overwhelming. The novel holds a mixed rating on platforms like Amazon and Goodreads‚ with some readers appreciating its gritty urban horror style and others criticizing its lack of redeeming characters. Despite the controversy‚ it remains a significant work in the horror genre‚ sparking intense discussions among readers.
7.2. Comparisons to Other Works
Cows is often compared to works by authors like Irvine Welsh and Cooper Frisk‚ known for their gritty‚ unflinching portrayals of urban decay. The novel’s extreme content and dark themes draw parallels to the Marquis de Sade‚ pushing boundaries even further. Its unique blend of horror and social commentary has led some to label it a modern cult classic‚ influencing the extreme horror genre. While not for everyone‚ Cows stands out for its fearless approach to taboo subjects‚ solidifying its place alongside other controversial works in literary history.

The Author’s Style
Matthew Stokoe’s writing is visceral‚ gritty‚ and unflinchingly raw‚ blending horror with social commentary. His style is provocative‚ pushing boundaries with extreme content and dark themes relentlessly.
8.1. Gritty Urban Horror
Matthew Stokoe’s Cows embodies gritty urban horror through its unflinching portrayal of violence and decay. The novel’s setting‚ a decaying American city‚ serves as a backdrop for brutal scenes of abuse‚ slaughterhouse gore‚ and societal rot. Stokoe’s vivid descriptions of gore and depravity create a visceral‚ unsettling atmosphere‚ immersing readers in a world of unrelenting darkness. His ability to blend psychological horror with physical violence sets a new standard for the genre‚ making Cows a benchmark for extreme‚ unapologetic storytelling.
8.2. Extreme and Provocative Writing
Matthew Stokoe’s writing in Cows is notoriously extreme and provocative‚ delving into taboo themes like bestiality‚ self-surgery‚ and graphic torture. The novel’s unflinching portrayal of violence and depravity challenges readers’ sensibilities‚ pushing boundaries beyond conventional horror. Stokoe’s visceral descriptions of gore and decay are not merely for shock value but serve to explore deeper themes of alienation and societal rot. His fearless approach to storytelling has cemented Cows as a cult classic‚ influencing the extreme horror genre and leaving a lasting impact on its readers.

Cultural Impact
Cows has become a cult classic‚ influencing the urban horror genre with its unapologetic exploration of societal decay and extreme violence‚ leaving a lasting mark on readers.
9.1. A Cult Classic
Cows has garnered a dedicated cult following‚ celebrated for its unflinching portrayal of societal decay and extreme violence. Its raw‚ unapologetic style has made it a benchmark in gritty urban horror‚ resonating with readers who embrace transgressive fiction. The novel’s ability to push boundaries and challenge taboos has solidified its status as a cult classic‚ drawing comparisons to works by authors like Irvine Welsh and Cooper Frisk. Its influence on the genre continues to grow‚ leaving a lasting impact on both readers and writers alike.
9.2. Influence on the Genre
Cows has significantly influenced the gritty urban horror genre‚ setting a new standard for extreme and provocative storytelling. Its unflinching exploration of violence‚ societal decay‚ and taboo themes has inspired many writers to push boundaries in transgressive fiction. The novel’s raw‚ visceral style has become a benchmark‚ challenging readers to confront uncomfortable truths. Its impact is evident in its cult following and its continued relevance in discussions about dark‚ experimental literature‚ solidifying its role as a groundbreaking work in the horror genre.
Cows by Matthew Stokoe is a visceral‚ unflinching exploration of darkness‚ violence‚ and societal decay‚ leaving a lasting impact as a cult classic in extreme horror literature.
10.1. Final Thoughts on the Novel
Cows by Matthew Stokoe is a deeply unsettling yet thought-provoking novel that explores extreme violence‚ societal decay‚ and the toxic dynamics of a mother-son relationship. Its unflinching portrayal of darkness and depravity makes it a cult classic‚ resonating with readers who Dare to confront the grotesque. Stokoe’s fearless writing style leaves a lasting impact‚ challenging readers to reflect on the horrors of human nature and the decay of modern society. This novel is not for the faint of heart but is undeniably a bold and memorable work in the horror genre.
10.2. Recommendations for Readers
Readers drawn to extreme horror and gritty urban fiction will find Cows by Matthew Stokoe a unforgettable‚ albeit disturbing‚ experience. While not for the faint of heart‚ the novel offers a raw exploration of societal decay and human depravity. Fans of authors like Irvine Welsh or those who appreciate unflinching dark narratives will find this book compelling. Available in PDF and various eBook formats‚ it’s accessible to readers seeking a challenging and thought-provoking story that lingers long after the final page.