This lab manual serves as a comprehensive guide for exploring human anatomy and physiology through hands-on activities and detailed visual aids, fostering a deeper understanding of bodily structures and functions․
1․1 Overview of the Lab Manual
The lab manual is a structured resource designed to complement anatomy and physiology coursework through practical exercises and detailed instructions․ It includes dissection guides, microscopy protocols, and physiology experiments, ensuring hands-on learning․ Each section aligns with course objectives, providing clear procedures, safety tips, and expected outcomes․ The manual emphasizes critical thinking and skill development, making it an essential tool for students to grasp complex anatomical and physiological concepts effectively․
1․2 Importance of Lab Work in Anatomy & Physiology
Lab work is crucial for understanding anatomy and physiology, offering practical experience that enhances theoretical knowledge․ Through dissections, microscopy, and experiments, students develop observational and analytical skills․ Hands-on activities bridge the gap between textbook concepts and real-world applications, fostering a deeper appreciation of human structure and function․ This experiential learning prepares students for careers in healthcare and research by building confidence and competence in scientific methodologies․
1․3 Objectives of the Lab Manual
The primary objectives of the lab manual are to provide students with a structured approach to exploring human anatomy and physiology․ It aims to enhance understanding through hands-on activities, promote critical thinking, and develop practical skills․ The manual ensures a comprehensive learning experience, combining visual aids, step-by-step procedures, and interactive exercises․ By achieving these objectives, students gain a solid foundation for further study and professional application in healthcare and related fields․
Essential Lab Equipment and Tools
The lab manual emphasizes the use of microscopes, dissection tools, and measurement instruments to facilitate hands-on exploration of anatomical structures and physiological processes․
2․1 Microscopes and Their Use in Anatomy
Microscopes are essential tools in anatomy labs, enabling detailed examination of cellular and tissue structures․ Compound light microscopes are commonly used for observing histological slides, while electron microscopes provide higher magnification for intricate details․ Proper preparation of specimens, including sectioning and staining, ensures clear visualization․ Students learn to identify structures like cells, nuclei, and organelles, gaining insights into the microscopic organization of tissues and organs․ Regular practice with microscopes enhances observational and analytical skills, crucial for understanding human anatomy․
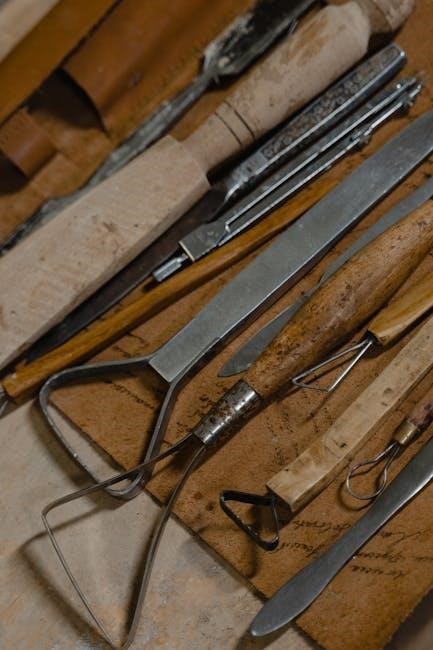
2․2 Dissection Tools and Techniques
Dissection tools, such as scalpels, forceps, and probes, are vital for exploring anatomical structures․ Techniques include precise incisions, layer-by-layer dissection, and careful tissue handling to preserve integrity․ Safety measures, like gloves and goggles, are essential to prevent accidents․ Students learn to identify organs and systems through systematic dissection, enhancing their understanding of spatial relationships and functional anatomy․ Proper tool maintenance and sterilization ensure longevity and hygiene, while documentation aids in recording observations for further study․
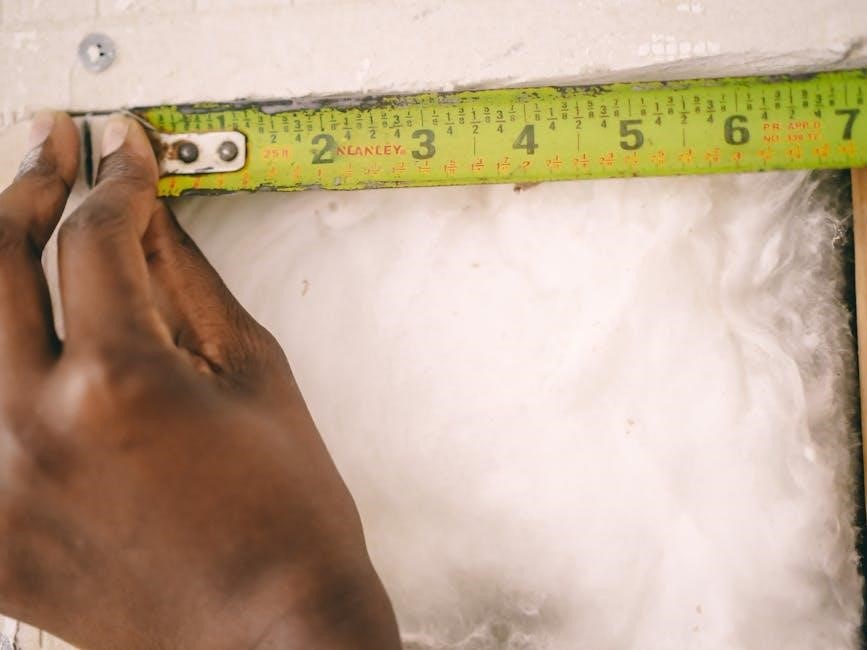
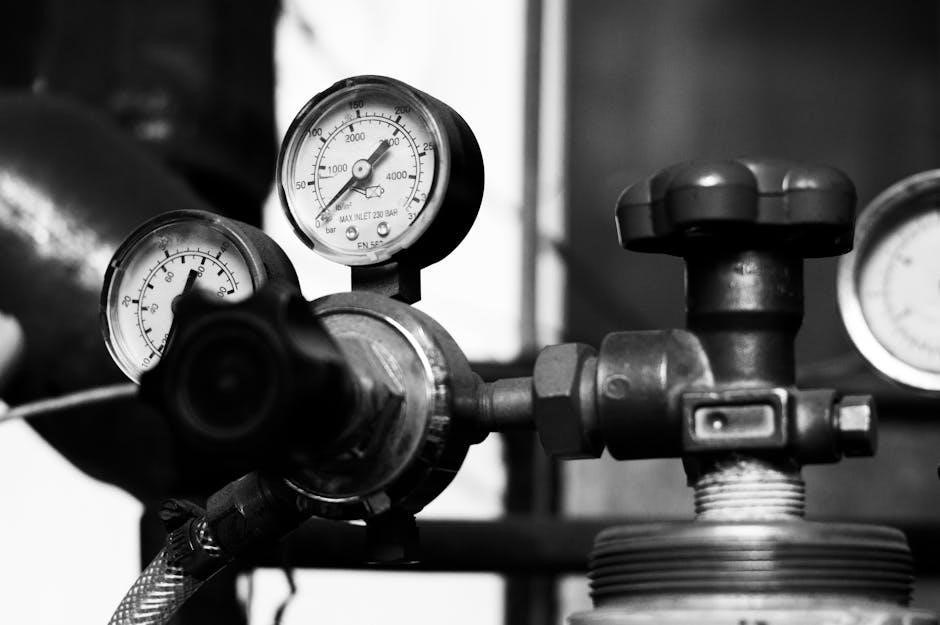
2․3 Measurement Instruments for Physiology Experiments
Physiology experiments rely on precise measurement tools to collect data on bodily functions․ Common instruments include electrocardiograms (ECG) for heart activity, blood pressure monitors, and spirometers for lung capacity․ Thermometers measure body temperature, while pH meters assess blood chemistry․ These tools provide quantitative data, enabling students to analyze physiological processes․ Proper calibration and handling ensure accurate results, making these instruments indispensable for understanding human physiology in a laboratory setting․
Microscopic Anatomy
Microscopic anatomy explores tissues and cells, requiring precise preparation of histology slides and staining techniques․ Microscopes reveal cellular structures, aiding in understanding tissue functions and diagnosing conditions․
3․1 Preparing Histology Slides
Preparing histology slides involves sectioning tissues into thin slices, typically using a microtome or a sharp blade․ Fixation preserves tissue structure, followed by staining to enhance contrast․ Mounting the sample on a slide ensures proper observation under a microscope․ This process is crucial for studying cellular details and understanding tissue composition, aiding in both education and diagnostic procedures․ Proper technique is essential to maintain sample integrity and achieve clear microscopic views․
3․2 Identifying Cellular Structures Under the Microscope
Under the microscope, cellular structures like the nucleus, mitochondria, and cell membrane become visible when stained․ The nucleus appears as a dense region, while mitochondria are smaller, dotted structures․ The cytoplasm fills the remaining space, and the cell membrane outlines the cell․ Proper focus and staining techniques enhance visibility․ Identifying these structures aids in understanding cellular function and overall tissue health, making microscopy a vital tool in anatomy and physiology studies․
3․3 Staining Techniques for Tissue Samples
Staining techniques enhance the visibility of tissue structures under a microscope․ Common methods include hematoxylin and eosin (H&E) staining, which differentiates tissues by color․ Specialized stains like Gram or PAS highlight specific cellular components․ Proper fixation and dehydration prepare samples for staining․ Adhering to staining protocols ensures consistent results․ These techniques are essential for accurate histological analysis, enabling students to identify and study microscopic features effectively in anatomy and physiology labs․
Gross Anatomy
Gross anatomy involves the study of visible body structures through cadaver dissection, enabling the identification of major organs and systems, providing hands-on experience essential for healthcare professionals․
Cadaver dissection is a foundational method in gross anatomy, allowing students to explore the human body’s structural organization․ It provides hands-on experience, enabling the identification of organs, tissues, and their spatial relationships․ Through systematic dissection, learners gain insights into the three-dimensional arrangement of anatomical structures․ This process enhances understanding and retention of complex anatomical concepts․ Cadaver dissection also introduces essential procedural techniques and safety protocols, fostering a respectful and professional approach to working with human remains․
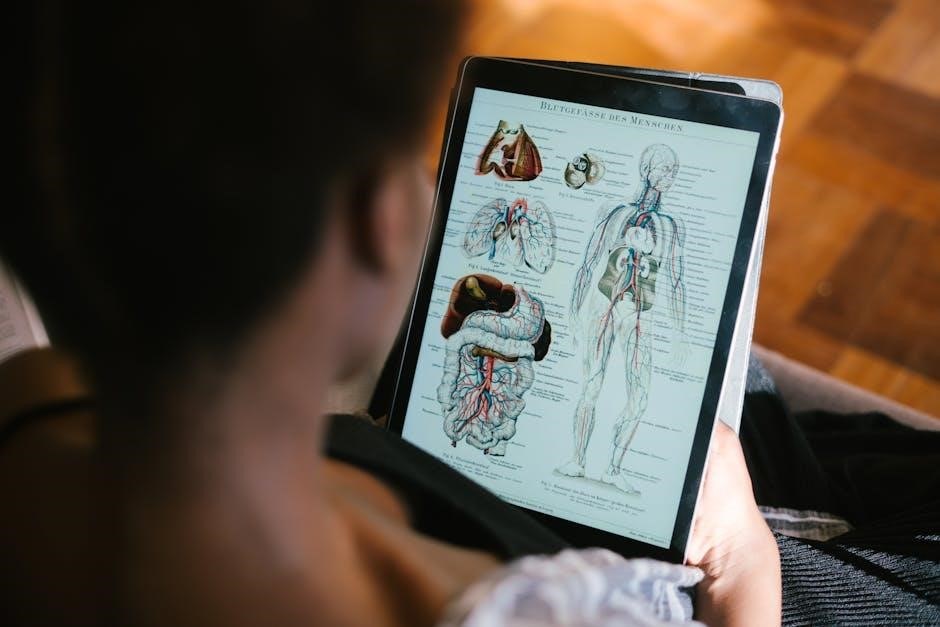
4․2 Identifying Major Organs and Systems
Identifying major organs and systems is crucial for understanding human anatomy․ Through dissection and observation, students locate and examine organs such as the heart, lungs, liver, and kidneys․ These organs are grouped into systems like the cardiovascular, respiratory, and digestive systems․ This process helps learners recognize the interconnections between structures and their functional roles․ Accurate identification is enhanced by detailed anatomical charts and guided instruction, ensuring a thorough comprehension of the body’s organizational framework and its physiological significance․ This skill is essential for healthcare professionals and researchers alike․
4;3 Labeling and Documenting Anatomical Structures
Labeling and documenting anatomical structures are essential skills in anatomy & physiology labs․ Students learn to identify and mark key structures on diagrams or cadavers, ensuring clarity and accuracy․ Proper documentation involves recording observations, measurements, and findings systematically․ This process aids in understanding complex anatomy, reinforces memory, and prepares students for clinical applications․ Accurate labeling and detailed notes also facilitate collaborative study and future reference, making it a cornerstone of effective lab work and professional practice in healthcare and research settings․
Physiology Experiments
Physiology experiments explore the body’s functional processes, such as heart rate, blood pressure, and nerve responses․ These hands-on activities bridge theoretical knowledge with practical observations, enhancing understanding of human physiology․
5․1 Measuring Heart Rate and Blood Pressure
Measuring heart rate and blood pressure are fundamental physiological experiments․ Students use stethoscopes and sphygmomanometers to assess cardiovascular function․ Heart rate is typically measured in beats per minute (bpm), while blood pressure is recorded as systolic/diastolic values․ These experiments introduce principles of hemodynamics and demonstrate how lifestyle factors can influence cardiovascular health․ Data collection and analysis help students understand normal physiological ranges and variations․ This hands-on approach reinforces theoretical concepts of blood circulation and cardiac function․
5․2 Testing Reflexes and Nerve Responses
Testing reflexes and nerve responses involves assessing the body’s involuntary reactions to stimuli․ Common methods include tendon taps (e․g․, knee-jerk reflex) and sensory tests․ Reflexes are evaluated for intensity, latency, and symmetry, providing insights into nervous system function․ Students use tools like reflex hammers and sensory testers to observe reactions․ These experiments demonstrate the reflex arc concept, involving sensory neurons, the spinal cord, and effector muscles․ Analyzing nerve responses helps students understand neural communication and its role in maintaining homeostasis and enabling voluntary movements․
5․3 Exploring Muscle Physiology Through Electrical Stimulation
Electrical stimulation is used to study muscle physiology, enabling observation of contraction mechanisms․ By applying controlled electrical pulses, students can induce muscle responses in isolated tissues or intact organisms․ This method helps demonstrate how action potentials trigger contractions and the role of calcium ions in muscle function․ Experiments often involve recording contraction forces and analyzing factors like stimulus intensity and frequency․ Such investigations provide practical insights into muscle physiology, enhancing understanding of movement and exercise principles․
Skeletal and Muscular Systems
This section explores the structure and function of bones, joints, and muscles, emphasizing their roles in movement, stability, and overall bodily support․
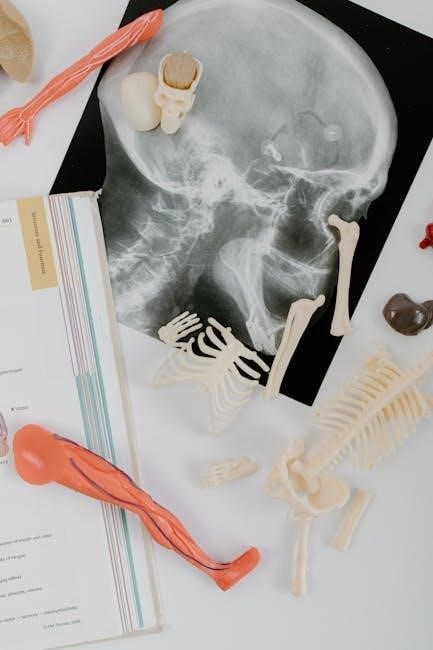
6․1 Examining the Structure of Bones
This section delves into the detailed study of bone anatomy, focusing on their composition, types, and functions․ Students will explore the differences between long, short, and flat bones, and analyze their roles in providing structural support and protection․ Hands-on activities include identifying bone markings and understanding the process of bone formation and remodeling․ This practical approach enhances comprehension of the skeletal system’s complexity and its vital role in human physiology․
6․2 Understanding Muscle Attachments and Movements
This section focuses on the study of muscle anatomy, emphasizing how muscles attach to bones and facilitate movement․ Students will learn to identify origin and insertion points, understanding how muscles pull on bones to produce motion․ Practical exercises include palpation of major muscles and observation of joint movements․ This hands-on approach helps clarify the relationship between muscle structure and function, essential for understanding locomotion and maintaining proper bodily mechanics․
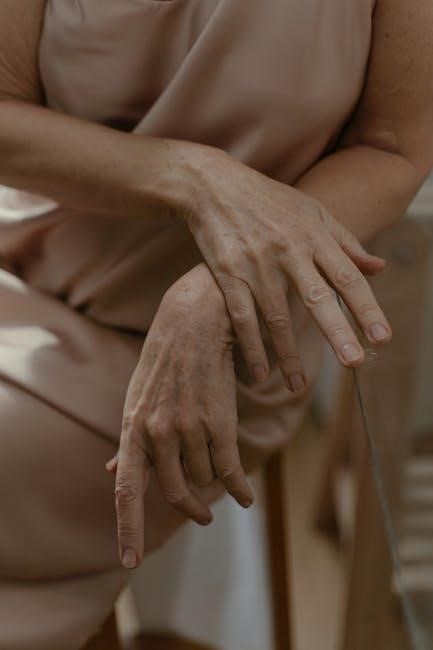
6․3 Analyzing Joint Mobility and Function
This section delves into the examination of joint structure and their range of motion, exploring how joints enable movement․ Students study types of joints, such as hinge, ball-and-socket, and pivot, and analyze factors influencing mobility, like ligaments and cartilage․ Practical exercises involve palpation and observation of joint movements, providing insights into normal and impaired joint function․ This hands-on approach enhances understanding of joint mechanics and their role in overall bodily movement and stability․
Nervous System Investigations
This section explores the structure and function of the nervous system, focusing on brain anatomy, sensory responses, and neural pathways․ Practical exercises include nerve stimulation tests and reflex analysis․
7․1 Brain Dissection and Structure Identification
This lab activity provides hands-on experience with brain anatomy, allowing students to identify key structures such as the cerebrum, cerebellum, and brainstem․ Participants learn dissection techniques, proper handling of specimens, and safety protocols․ The exercise emphasizes the importance of recognizing anatomical landmarks and understanding their functional roles․ Staining techniques may be applied to enhance visibility of specific brain regions․ Students document their findings through detailed sketches and descriptions, fostering a deeper appreciation for the complexity of neural structures and their physiological significance․
7․2 Testing Sensory and Motor Functions
This lab focuses on assessing sensory and motor functions through standardized tests; Students utilize reflex testing tools to evaluate nerve responses, such as knee-jerk and eyeblink reflexes․ Sensory assessments include testing touch, pain, temperature, and vibration perception․ Motor function tests involve observing muscle strength and coordination․ These experiments provide practical insights into neural pathways and their roles in controlling involuntary and voluntary actions, reinforcing understanding of the nervous system’s integration of sensory input and motor output․ Detailed documentation and analysis of results are emphasized to correlate physiological responses with anatomical structures․
7․3 Understanding Neural Pathways and Reflex Arcs
This section explores the intricate pathways through which neural signals travel, enabling sensory input and motor responses․ Students trace neural pathways, identifying key structures like dendrites, axons, and synapses․ Reflex arcs are dissected to understand their role in automatic responses, from stimulus detection to effector actions․ Practical experiments involve mapping somatic and autonomic pathways, demonstrating how neural communication integrates body functions․ Documenting and analyzing these processes enhances comprehension of the nervous system’s complexity and its role in controlling voluntary and involuntary actions․
Cardiovascular and Respiratory Systems
This section examines the heart’s structure and function, blood circulation, and respiratory processes․ Experiments include measuring heart rate, blood pressure, and lung capacity to understand system interconnections․
8․1 Studying the Heart’s Structure and Function
This section involves detailed dissection and histological examination of the heart to identify its chambers, valves, and blood vessels․ Students learn to measure heart rate and blood pressure, correlating these with physiological conditions․ Techniques include staining cardiac tissue samples for microscopic analysis and using measurement tools to assess cardiovascular health․ These hands-on activities provide a comprehensive understanding of the heart’s role in circulation and overall bodily function, enhancing both theoretical knowledge and practical skills․
8․2 Analyzing Blood Flow and Circulation
This section focuses on understanding the dynamics of blood flow through vessels using microscopic observations and physiological measurements․ Students learn to identify blood vessel structures and their roles in circulation․ Practical exercises include tracing blood flow pathways and measuring blood pressure to assess cardiovascular health․ The lab also explores how factors like exercise and stress impact circulation, providing insights into the body’s adaptive mechanisms and the importance of maintaining healthy blood flow for overall well-being․
8․3 Measuring Lung Capacity and Respiratory Rates
This exercise involves measuring vital respiratory parameters using spirometry to assess lung function․ Students calculate tidal volume, inspiratory capacity, and forced expiratory volume․ By analyzing respiratory rates and patterns, participants explore how factors like physical activity and health conditions affect breathing․ Data recording and comparison with normal values help reinforce understanding of respiratory physiology and its significance in overall health․
Digestive and Urinary Systems
This section explores the structures and functions of the digestive and urinary systems through hands-on experiments․ Students examine organ anatomy, enzyme activity, and kidney function to understand nutrient absorption, waste removal, and fluid balance․
9․1 Examining the Structure of the Digestive Tract
This exercise involves the detailed dissection and examination of the digestive tract, including the esophagus, stomach, small intestine, and large intestine․ Students identify key anatomical features such as mucosal lining, villi, and glandular structures․ The lab also includes histological slides to observe microscopic details, enhancing understanding of how different regions specialize in digestion and absorption․ Hands-on activities reinforce the relationship between structure and function in the digestive system․
9․2 Testing Enzyme Activity in Digestion
This lab focuses on investigating the role of digestive enzymes, such as amylase, lipase, and trypsin, in breaking down carbohydrates, fats, and proteins․ Students conduct experiments using enzyme solutions and substrates, observing reactions with pH indicators or chromogenic substrates․ The activity demonstrates enzyme specificity and optimal pH conditions, highlighting how digestive enzymes function efficiently under physiological conditions․ These experiments provide practical insights into biochemical processes underlying digestion and nutrient absorption, reinforcing theoretical concepts with hands-on observation and analysis․
9․3 Understanding Kidney Function and Urine Formation
This section explores the renal system’s role in filtering blood, regulating electrolytes, and producing urine․ Students analyze kidney structure, observe nephron models, and conduct experiments simulating filtration and reabsorption․ Activities include measuring urine pH and specific gravity to assess kidney function․ Practical exercises, such as dissecting kidney samples or using digital simulations, provide hands-on insights into glomerular filtration and tubular reabsorption processes, linking theoretical concepts to real-world physiological mechanisms and clinical applications in health and disease states․
Cognitive and Special Senses
This section introduces the anatomy and physiology of cognitive functions and special senses, focusing on the brain’s role in perception, vision, hearing, and sensory processing through hands-on experiments․
10․1 Investigating the Structure of the Eye and Ear
This lab explores the intricate anatomy of the eye and ear, focusing on their structural components․ Students examine the eye’s cornea, lens, retina, and optic nerve, while investigating the ear’s outer, middle, and inner sections, including the eardrum and cochlea․ Through dissection and microscopy, learners gain hands-on insights into how these organs detect light and sound, enabling sensory perception․ Histological slides and staining techniques enhance visualization of cellular details, connecting anatomical features to their physiological roles in vision and hearing․ This practical approach fosters a deeper understanding of sensory mechanisms․
10․2 Testing Visual and Auditory Perception
Students conduct experiments to assess visual and auditory perception, measuring responses to stimuli like color recognition, depth perception, and sound frequency․ Activities include Snellen charts for visual acuity, audiograms for hearing thresholds, and tests for peripheral vision and auditory reflexes․ These exercises demonstrate how the brain processes sensory information and highlight individual variations in perception․ The labs integrate anatomical knowledge with functional assessments, providing practical insights into the neural basis of sensory processing․ This hands-on approach enhances understanding of human sensory capabilities and limitations․
10․3 Understanding the Brain’s Role in Sensory Processing
This section explores how the brain interprets sensory information from the eyes, ears, and other sensory organs․ Through dissections and simulations, students examine brain regions like the visual and auditory cortices․ Activities include mapping sensory pathways and analyzing how sensory input is translated into perception․ The lab emphasizes the brain’s role in integrating sensory data to create coherent experiences, highlighting the complex neural processes behind human cognition and sensory integration․ This hands-on approach deepens the understanding of sensory processing mechanisms․
This manual provides a comprehensive overview of human anatomy and physiology, offering practical lab experiences that enhance understanding of complex biological systems and their real-world applications․
11․1 Summary of Key Concepts and Skills
This lab manual emphasizes hands-on exploration of human anatomy and physiology, covering microscopic and gross anatomical structures, physiological measurements, and systemic functions․ Students develop essential skills in histology slide preparation, dissection techniques, and data analysis․ The manual fosters critical thinking and scientific inquiry, enabling learners to connect theoretical knowledge with practical applications in healthcare and research․ By mastering these concepts and skills, students gain a robust foundation for understanding the intricacies of the human body and its functions․
11;2 Applying Lab Knowledge to Real-World Scenarios
Lab experiences in anatomy and physiology equip students to apply their knowledge in real-world healthcare and research settings․ Skills gained, such as dissection and physiological measurements, are essential for careers in medicine, nursing, and biomedical sciences․ Understanding human structure and function enables professionals to diagnose conditions, develop treatments, and improve patient care․ Practical lab training fosters problem-solving and critical thinking, bridging the gap between theory and application in diverse medical and scientific contexts․
11․3 Future Directions in Anatomy & Physiology Research
Future research in anatomy and physiology focuses on advancing regenerative medicine, understanding neurophysiology, and integrating AI in diagnostics․ Emerging technologies like 3D imaging and virtual dissection tools are transforming anatomical studies․ Investigations into cellular mechanisms and personalized medicine are gaining momentum․ Collaborative efforts between biologists, engineers, and clinicians are driving innovation․ These advancements promise to enhance our understanding of human function and improve therapeutic interventions, paving the way for groundbreaking discoveries in the field․